The idea was simple. Everything I have — every retro game from every era I actually care about — in one place. One launcher. Click a game, it opens. I don't want to think about which emulator handles which console or go hunting through different installs to find something. I want a library that looks like a library and behaves like one.
The result: 17 emulators covering 23 systems, fronted by Playnite, with box art for everything and a workflow where dropping a ROM in the right folder and reopening Playnite is genuinely all it takes. The machine is comfortably powerful enough to upscale N64 games to something approaching respectability.
Getting there took longer than it should have, and for reasons I didn’t expect. This is the story of the build, with every embarrassing detour included. If you’re here for the finished setup rather than the story, there’s a complete setup guide with the install script that skips straight to the practical steps.
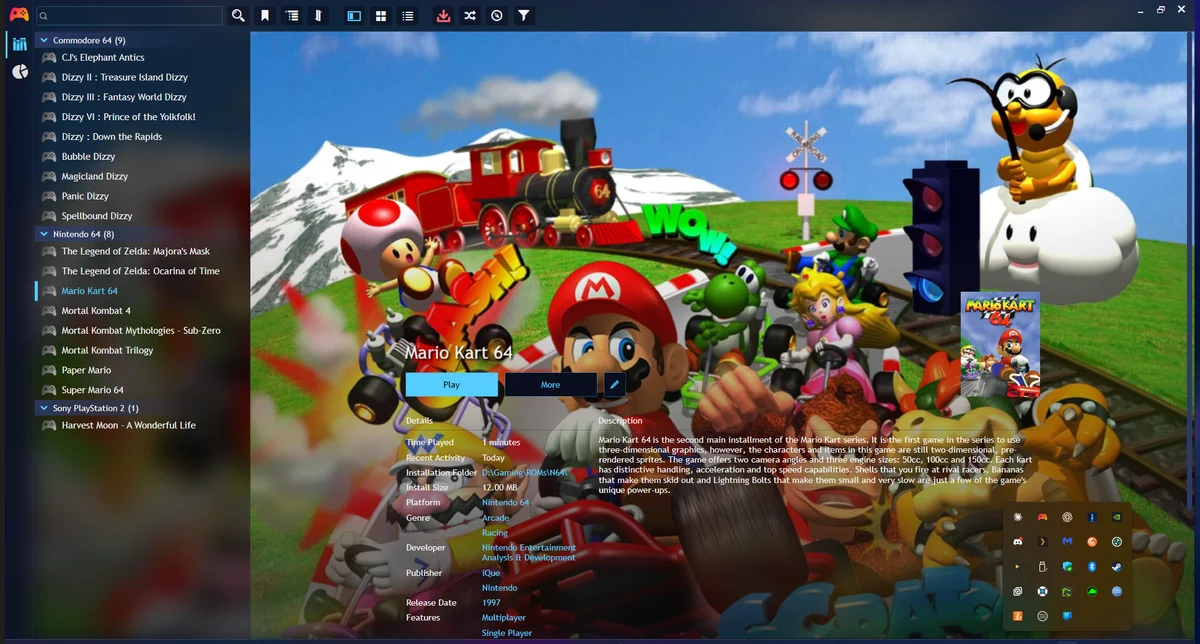
The Goal: One Launcher for Everything
Playnite is a free, open-source game library that acts as a frontend for everything — Steam, GOG, emulators, whatever else you want to throw at it. The emulation side lets you map emulators to systems, point it at your ROM folders, and have it scan automatically. Games appear in a unified library with proper metadata — cover art, descriptions, genres, ratings — and you launch them from one place without thinking about what's running underneath.
The systems I wanted covered span a good forty years of gaming:
The emulators themselves are all mature, well-supported projects — Dolphin for GameCube and Wii, PCSX2 for PS2, RPCS3 for PS3, Cemu for Wii U, and RetroArch handling the older systems through downloadable cores. None of this is exotic. The installs should have been the boring part.
The Part That Was Not Boring
Half the package IDs were wrong
Windows has a package manager called winget that can install software from a command line with a single ID — similar to apt on Linux, if you're used to that. The plan was to script the whole install so it could be re-run cleanly. I had a list of IDs. Most of them were wrong.
The fun part is that winget's errors were generic enough that I initially assumed something was broken with my environment rather than with the list. I was chasing a ghost. There was no ghost. Six of the eleven IDs I started with were simply incorrect and I had to look them all up manually.
winget search <name> before assuming you know the ID. Takes five seconds. Saves considerable time.
The emulator that installed perfectly and refused to run
xemu emulates the original Xbox. It publishes eighteen different versions of each release — different CPU architectures, debug builds, release builds. My download script grabbed the latest one automatically. It grabbed the ARM64 version. I am running an x86 machine.
The download completed without complaint. It extracted cleanly and sat in the install folder looking completely normal. It just would never run, because I’d downloaded the ARM64 build instead of the x86-64 one. There was no error. The program simply did nothing when launched. I went through the better part of twenty minutes assuming it was a configuration problem before checking what I'd actually downloaded.
MAME hung forever with zero output
MAME is the arcade emulator. It distributes as a self-extracting archive — a file that looks like a regular installer but is actually a compressed bundle. Running it with the silent install flag it just… sat there. 0% CPU. No progress. No error. No timeout. Just a frozen process blocking everything else while I waited to see if something was happening. Nothing was happening.
The fix was to treat the file as an archive rather than an installer — extract it with 7-Zip directly rather than running it. Instant, clean, no GUI, worked first time. Some things that look like installers are not really installers.
Dolphin's official installer 404ed
The download URL in the winget package for Dolphin was no longer valid. And when I went to the Dolphin website manually, it returned a 403 to my download script because the site requires a browser user-agent header to serve files. Once I worked around that, Dolphin installed fine — but the nested subfolder structure it extracts into is a minor nuisance to account for when pointing Playnite at the executable.
The Admin Rights Trap
This is the one that wasted the most time, and it had nothing to do with emulators.
I'd been running setup scripts in an elevated terminal session, so Playnite launched with administrator rights. And then nothing worked. Not in a crash way — in a silent, completely unresponsive way. Buttons didn't respond. Keyboard input wasn't registering. The interface was there, it looked fine, but it might as well have been a screenshot for all the good it did.
The cause is a Windows security feature called UIPI — User Interface Privilege Isolation. An elevated process ignores input from a lower-privilege one, and in the automation context, the tool sending input was lower privilege than the elevated Playnite. So clicks and keypresses arrived at Playnite and got discarded. Silently. Without any indication that anything was wrong.
The fix was to close everything, reopen Playnite normally, and suddenly it worked perfectly. An hour of troubleshooting, resolved by not running a thing as admin. Noted for the future.
The Sega CD Incident
RetroArch handles multiple Sega systems through a single emulator core called Genesis Plus GX — it does Mega Drive, Master System, Game Gear, and Sega CD from one place. Convenient. Except when I set up the Playnite scan configurations and imported some test ROMs, all three systems came in labelled as Sega CD.
The Genesis game was Sega CD. The Master System game was Sega CD. The Game Gear game was also Sega CD. Playnite was seeing one core that handles multiple platforms and assigning everything to the first one in the alphabetical list.
The fix was to create a separate scan configuration for each system and explicitly tell Playnite which platform each one represents. Five minutes once I knew what was happening — but I only found out by scanning test ROMs before touching anything real. Worth doing.
N64: A Story in Two Acts
This is the one I'd tell someone if they asked what went wrong. Not because it was the most technically complex — it wasn't — but because it managed to fail in two separate ways at once, and the second failure made the first one look much worse than it was.
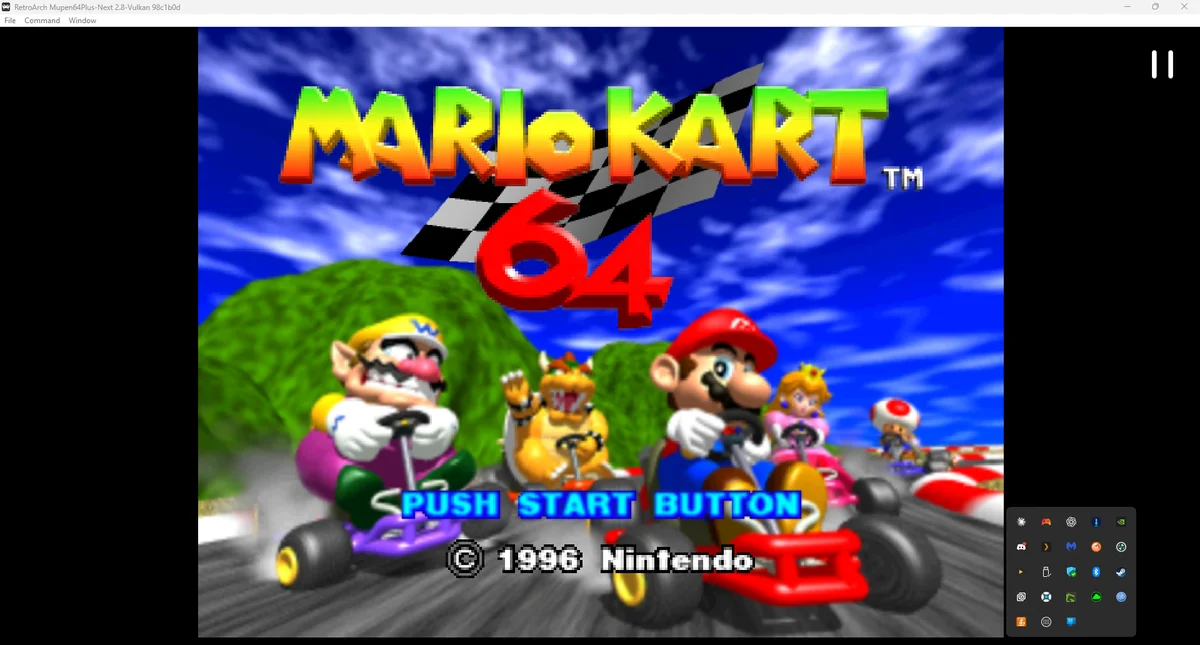
Act one. N64 in RetroArch gives you a choice of rendering plugin. The default (GLideN64) is stable. There's a more accurate alternative called paraLLEl-RDP. I switched to it, set upscaling to 8×, and it looked genuinely stunning. Title screen was crisp, colours were sharp. I closed the game.
And then nothing would launch. Not just that game — no N64 game would start at all.
Act two. The crash from paraLLEl-RDP at that upscale setting had left Playnite believing a game was still running. Its game execution monitor never cleared, so it was blocking every new launch attempt. This is why none of the subsequent games would start — it wasn't an emulator problem, it was Playnite still thinking the previous session was open.
The fix for the stuck monitor is a "Cancel game monitoring?" prompt that appears on the next launch attempt. Click Yes. Problem solved. The fix for the paraLLEl-RDP crash was to go back to GLideN64 and use its built-in resolution multiplier instead — 4× native resolution, rock solid, looks great, launches every time.
The Box Art Problem (And Why ScreenScraper Is the Answer)
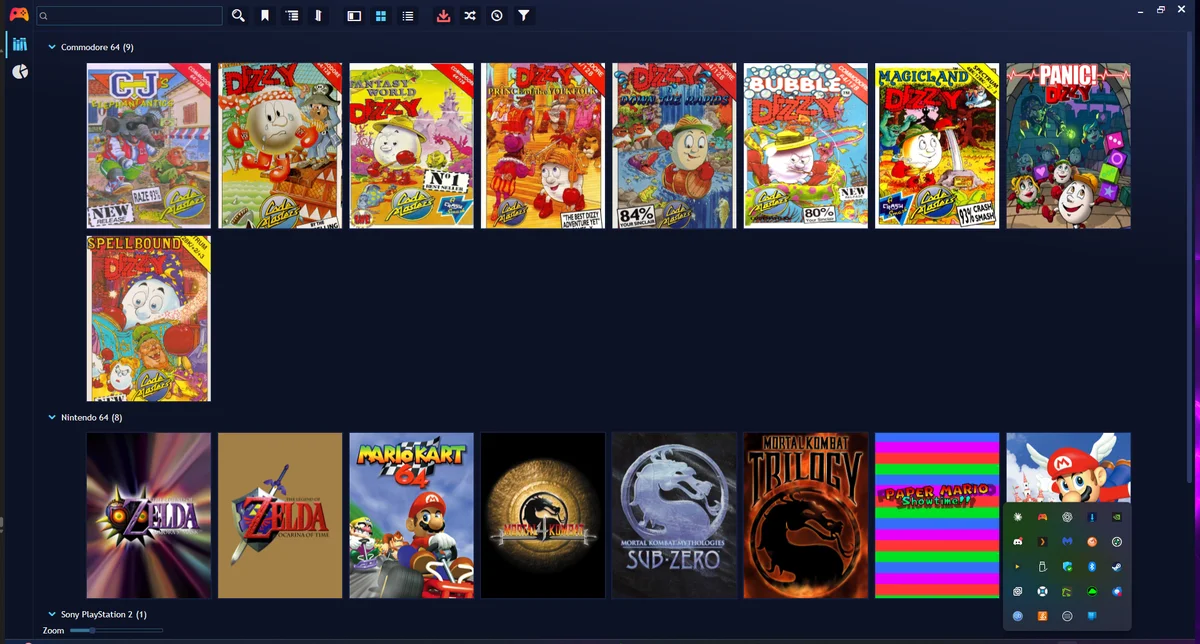
Games import from a scan with no artwork. The scan only records what system they're for and where the file is — artwork is a separate step, and it matters. A library full of blank tiles is a miserable thing to browse.
Playnite connects to IGDB for metadata, which is a great database of games — but it matches by name. And most ROM files have names like Legend of Zelda, The - Ocarina of Time (U) (V1.2) [!] because that's the No-Intro naming standard. IGDB sees that string, can't cleanly match it to The Legend of Zelda: Ocarina of Time, and gives up. Bulk downloading returns dates and genres but no covers.
The better approach is ScreenScraper — a community database that matches ROMs by file hash rather than file name. It doesn't care what your files are called. It reads the file, calculates a hash, looks that hash up in its database, and returns the correct artwork. A free account gives you reasonable speed. It's the right tool for a ROM collection.
The Finished Thing
Once it was all working, the payoff was immediate. Drop a ROM in the right folder, reopen Playnite, and the game appears — correct platform, correct emulator, box art and all. The library looks like a proper collection rather than a pile of files with names. Every system is one click away from the same place.
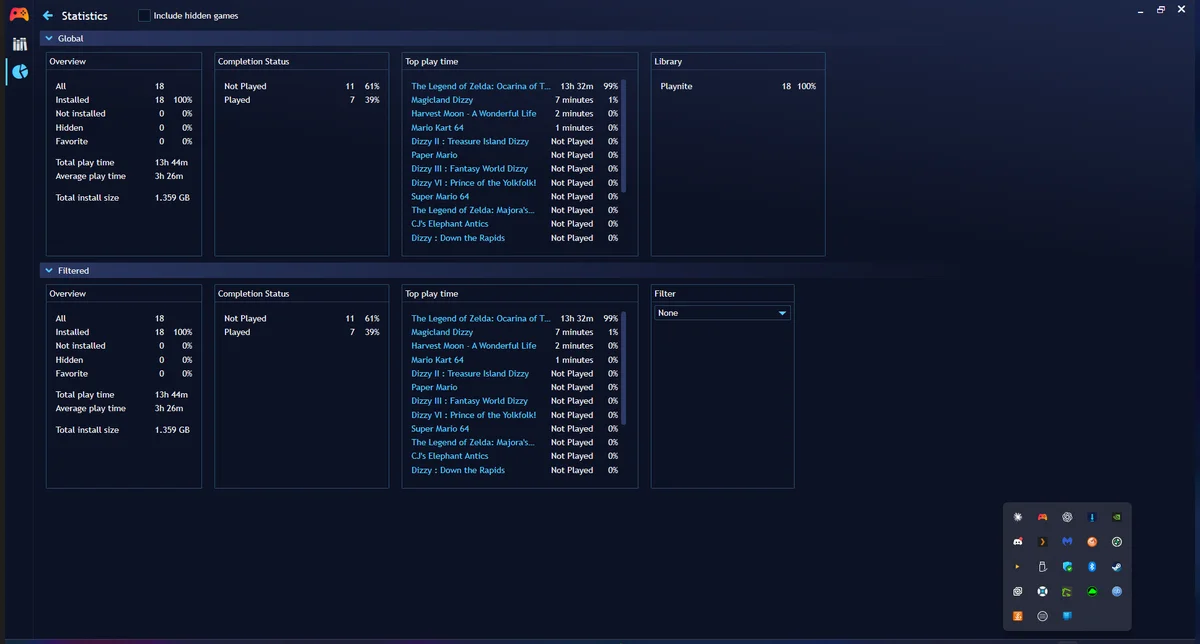
The only things still needing manual effort are BIOS files for a handful of systems that legally require you to supply your own firmware — PS1, PS2, and original Xbox in particular. Those the automation can't touch. Everything from the NES through the N64 needs nothing extra at all.
Next up: finding out what the PC folder in the ROM library is actually for, and wiring it up accordingly. DOS games via DOSBox Staging, probably — but there are about three different things that could mean, and it's worth getting right rather than guessing. That, and the ongoing question of whether box art alone makes a library feel complete or whether there's more work to do on the metadata side.
For now though: 23 systems, one launcher, everything in order. The embarrassing bits were worth it.
If there’s a theme running through all of this, it’s that the difficult part wasn’t emulation. The emulators were mostly fine. The time disappeared into the tiny assumptions — wrong package IDs, the wrong CPU architecture, silent privilege issues, metadata quirks — that only show up once you try to automate everything. Hopefully this saves someone else an evening of chasing the same problems.